The Basics: Creating New Pages
Creating a new page
Step 1:
Navigate to the directory or main level of your site where you want the page to reside.
Step 2:
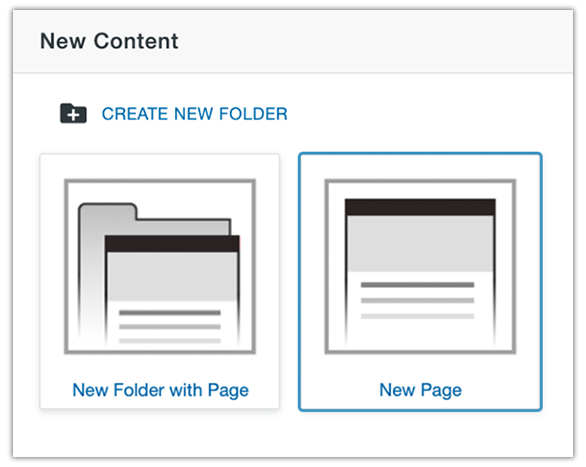
Click New and select New Page.
Step 4:
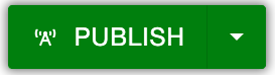
Once you've built out your page, click Publish. Once published, you can share your page URL.
Example: https://nameofsite.utah.edu/nameofpage.php
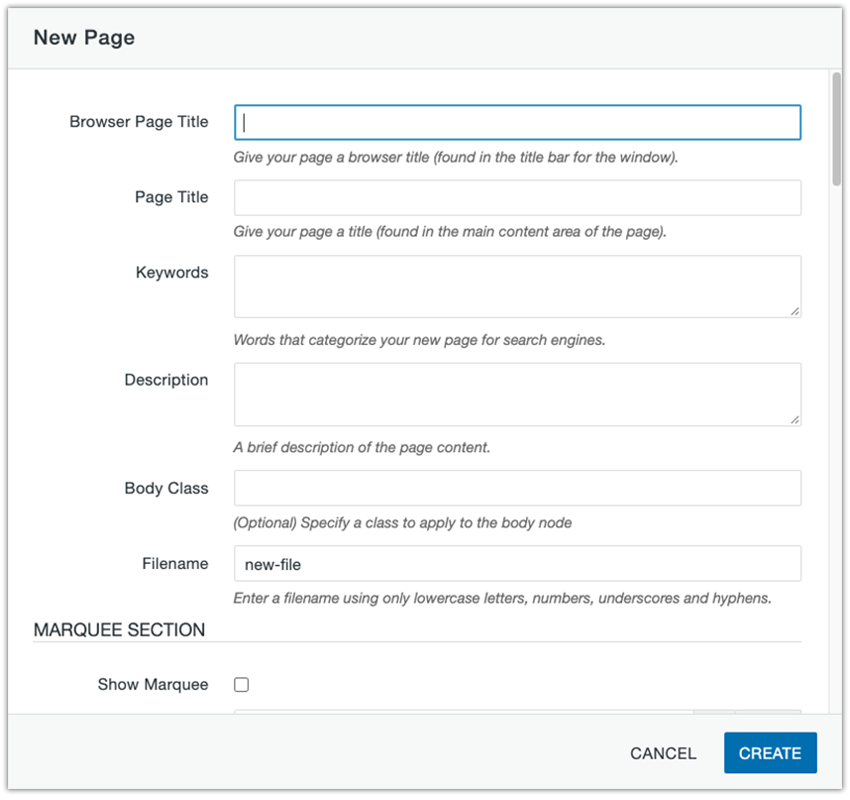
Page Information
- Browser Page Title - Text entered will be displayed in the tab of the browser. The Browser Page Title is most often identical to the title of the page.
- Page Title - The title of the page is the only text on the page that should be assigned a Heading 1.
- Keywords - Most search engines ignore keywords, so only add keywords that are relevant to the page or leave this blank.
- Description - Tells search engines what your page or site is about. If your page comes up in a search result, it will have link and a description. Pay attention to grammar and make sure the description you add reflects the content of the page.
- Body Class - Some snippets or page options may require a body class. Please see the documentation for each snippet to determine if you need to add a body class.
- Add Filename - Create a filename using the naming convention of lower-case letters and dashes instead of spaces (e.g. about-us).
If you know how your page will be structured, continue scrolling to choose the settings for the Marquee, Sections, and Regions.
Adding and editing sections
Sections can be thought of as the rows on your page. You can add up to 5 sections on a page.
Step 1:
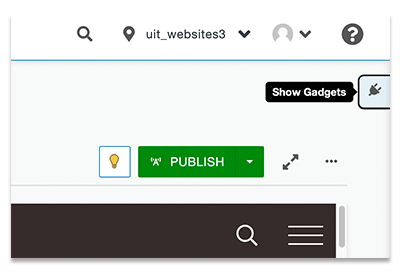
Check out the page you wish to edit and then navigate to Gadgets.
Step 2:
With the Gadgets sidebar open, select the Page Parameters dropdown.
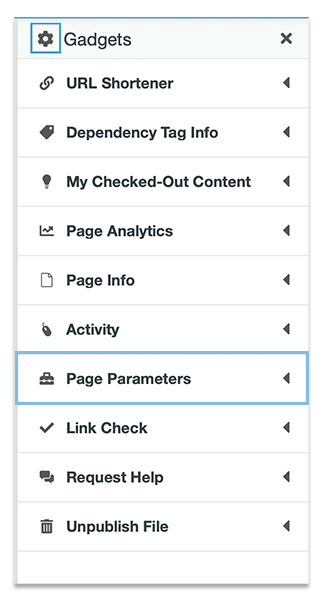 Not seeing the Page Parameters dropdown? Review your gadgets by clicking the gear
icon.
Not seeing the Page Parameters dropdown? Review your gadgets by clicking the gear
icon.
Step 3:
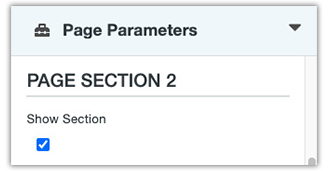
Once the Page Parameters dropdown is open, scroll to the Sections area. To enable or disable a section, select the Show Section checkbox.
Repeat this step to enable or disable additional sections.
Section display options
These display options are found in Gadgets > Page Parameters.
Section Color
You can change the colors of an entire section by choosing the Section Color dropdown.
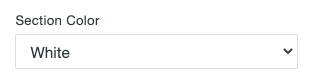
Color Options:
- White
- Light Gray
- Medium Gray
- Dark Gray
- Red
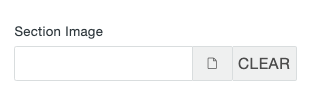
Section Image
An alternative to the section colors is adding an image.
Upload and publish your image, then use the Section Image area.
Additional Formatting:
Select the Fixed Image Position checkbox if you want the image to remain static upon scroll.
Section Image and Accessibility
- For darker images, switch the Section Color dropdown to Medium Gray, Dark Gray, or Red. This will change the font color to white.
- For lighter images, switch the Section Color dropdown to White or Light Gray. This will change the font color to black.
- Changing region display options may also improve visibility.
Section Order
As you edit a page, you may need to change the order of sections. You can do this using the Section Order dropdown.
Only use this feature if absolutely necessary.
Section Class
Section classes can affect the position of buttons and background images within a section. Add the classes in the Section Class area. Separate multiple classes with a space.
Adding and editing regions
Regions are the columns on your page. You can add up to 6 regions within a single section.
Step 1:
Follow steps 1-3 of adding and editing sections.
Step 2:
While still in Page Parameters, scroll to the section where the region(s) you wish to edit reside.
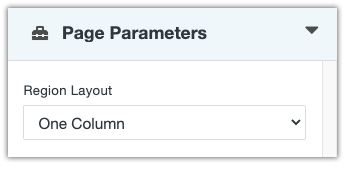
Step 3:
Use the Region Layout dropdown to enable or disable additional regions.
Region display options
These display options are found in Gadgets > Page Parameters.
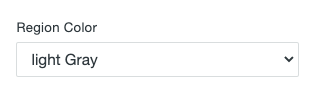
Region Color
You can change the colors of regions by choosing the Region Color dropdown.
Color Options:
- White
- Light Gray
- Medium Gray
- Dark Gray
- Red
- Transparent
- Filter - Light
- Filter - Dark
Hide Region Borders
Region borders can be shown or hidden with the Hide Region Borders checkbox.

When the Hide Region Borders checkbox is unchecked, the region content will have padding around it.

When the Hide Region Borders checkbox is checked, the region content will fill the region from edge to edge.

Stretch Region Widths
The Stretch Region Widths checkbox will change the widths of regions when they are displayed on smaller windows and devices. By default, regions will wrap to a second line if the browser window is too narrow to display them side by side.
If the Stretch Region Widths checkbox is checked, the region width will increase to fill the page.