The Basics: The Side Navigation
Introduction to the side navigation
The side navigation is a vertical menu that comes standard with the version 3 and 3.1 templates and is optimal for mobile devices. It is located by clicking the hamburger icon in the top right corner of the site header.
Distinguishing top level and submenu items
Top level items (also known as level 1 items) are visible upon opening the side navigation.
If an item contains submenu items (also known as level 2 items), a dropdown icon will appear.
- The submenu becomes visible when you click on the top level item.
- To collapse the submenu, click the top level item again.
If the top level item has no submenu, clicking it will take you directly to another web page or document.
Version 3.1

Editing the side navigation
Step 1:
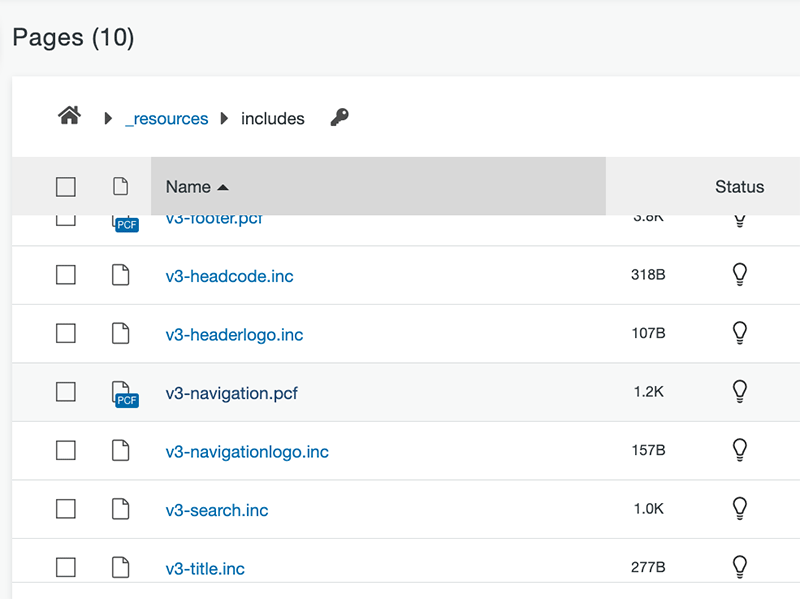
On the main level of your site, navigate to /_resources/includes, and open v3-navigation.pcf.
Step 2:
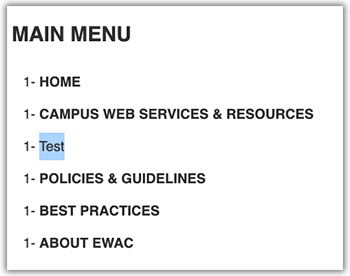
To add a new menu item, place your cursor where you would like the new item to appear, then hit Enter/Return. Type a name for the menu item.
Step 3:
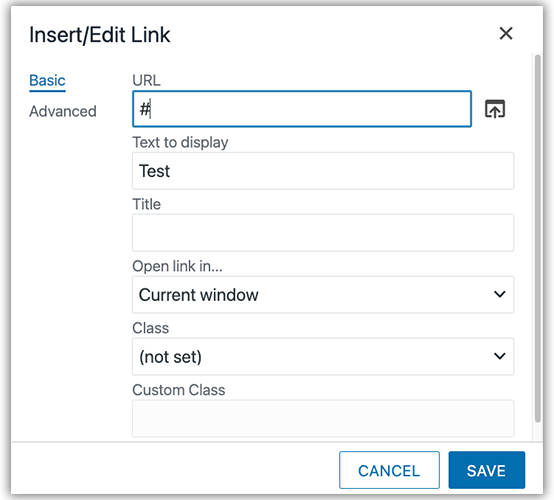
After adding text, use the Insert/Edit Link icon in the WYSIWYG Toolbar to incorporate a link.
Please note: Once a link has been added, the text will format automatically.
Step 4:
Use Enter/Return and Tab to adjust the levels of each item.
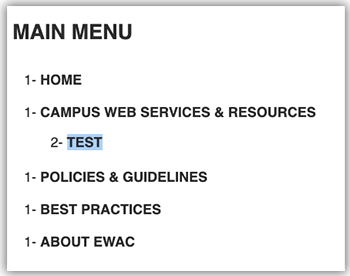
The numbers indicate the level items:
- 1 = top level item
- Each top level item needs to have a link.
- If there are no submenu items listed, link the top level item to a specific web page or document.
- If the top level item does have submenu item(s), you can add a placeholder "#" in the URL box. This will act as a toggle to open the submenu.
- 2 = submenu item
Step 5:
Save and publish in order to view changes.
Adding icons to the side navigation
All navigation menus have an icon automatically added for the home page. The rest of the main menu items are left without icons to allow for customizations.
Step 1:
To incorporate an icon next to your menu item(s), refer to the Font Awesome cheatsheet to see a listing of all the available icons and their names.
![]()
Step 2:
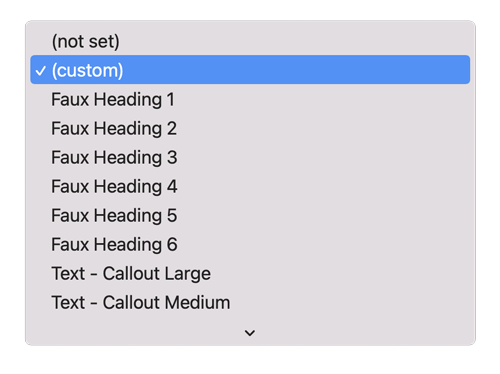
Open the Link Properties Dialog Box and switch the Class dropdown to (custom).
Step 3:
Type the following in the Custom Class textbox, swapping out the brackets and icon name:
- fal_fa-[icon name]
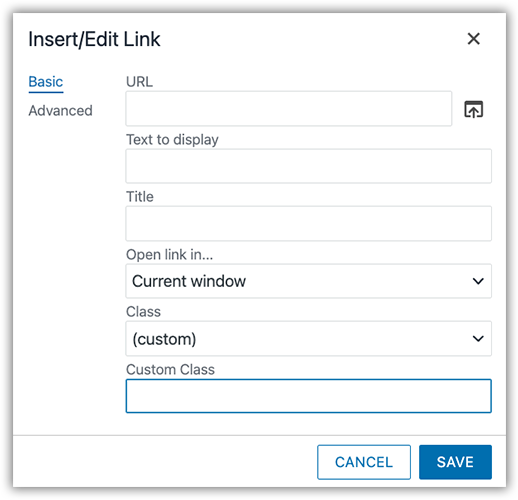
Step 4:
Click OK. Save and publish to view changes.
Please note: Icons will not appear in the Edit view.