Beyond the Basics: Rotating Marquees
What is a rotating marquee?
A rotating marquee gives you the opportunity to display a number of images that rotate in the marquee area on your page.
What is banner blindness?
Banner blindness is the tendency for viewers to scroll immediately past the header/marquee area in order to find what they are looking for on your site. When using a rotating marquee, be aware of banner blindness and consider the following:
- Avoid adding the most important information only in the marquee
- Limit the number of images displayed
- A max of 3 images is suggested
- Review the general image guidelines
Building the rotating marquee file
Step 1:
Upload and publish your images to /_resources/images.

Step 2:
Navigate back to the directory or main level of your site where the page you want to add a rotating marquee resides.
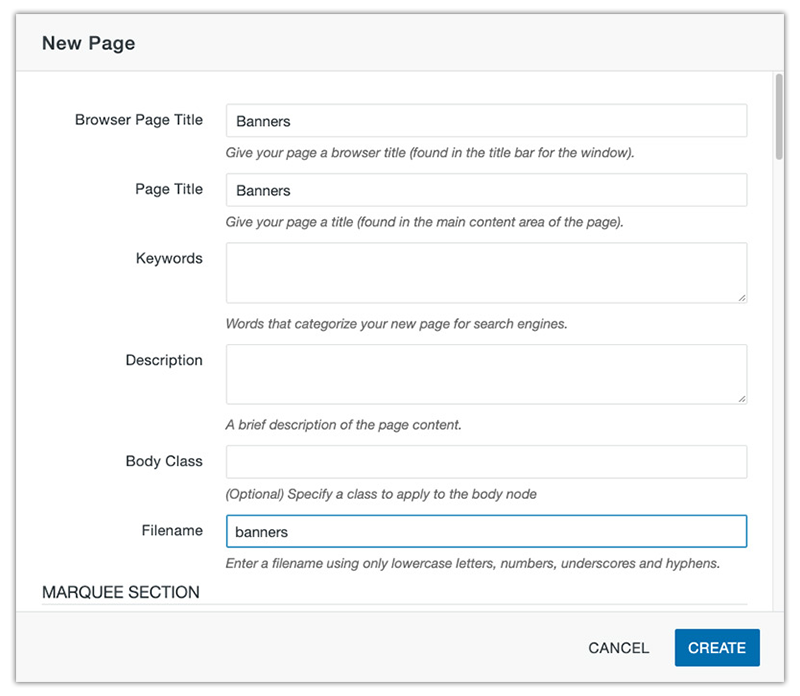
Step 3:
Create a new page by clicking New and New Page and then name this file banners.
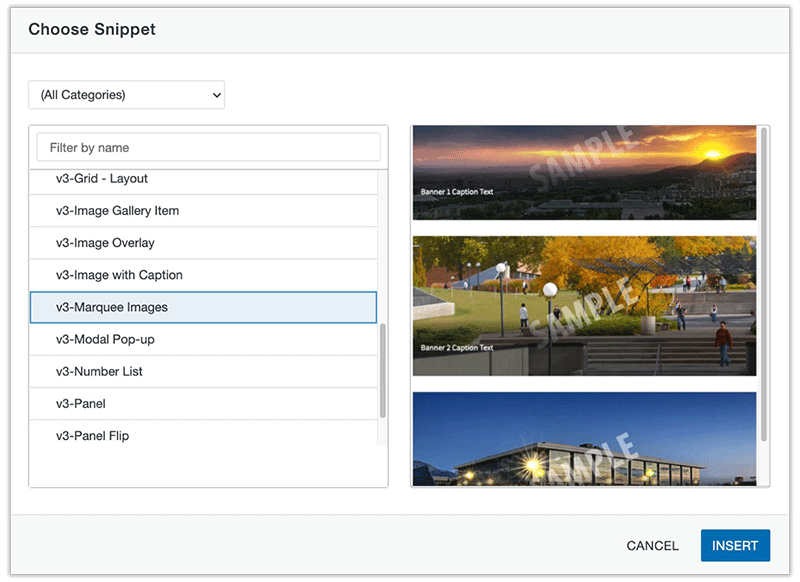
Step 4:
Once the page has been created, click into Section 1 Region 1 and add the V3 - Marquee Images snippet through the Snippets icon in your WYSIWYG Toolbar.
Step 5:
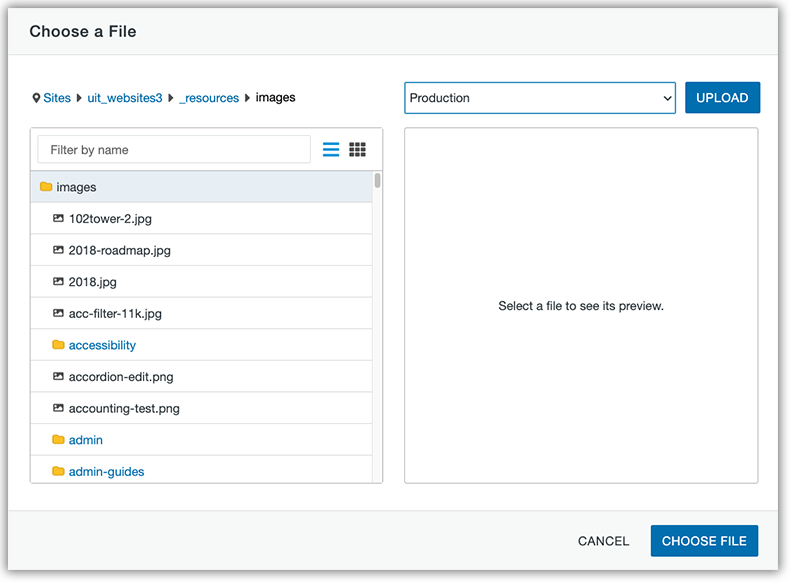
Replace the placeholder images by clicking on them individually and then selecting the Insert/Edit image icon in your WYSIWYG Toolbar.

Step 6:
Locate the new image you wish to add and click Choose File. Repeat with the remaining placeholder images.
Step 7A:
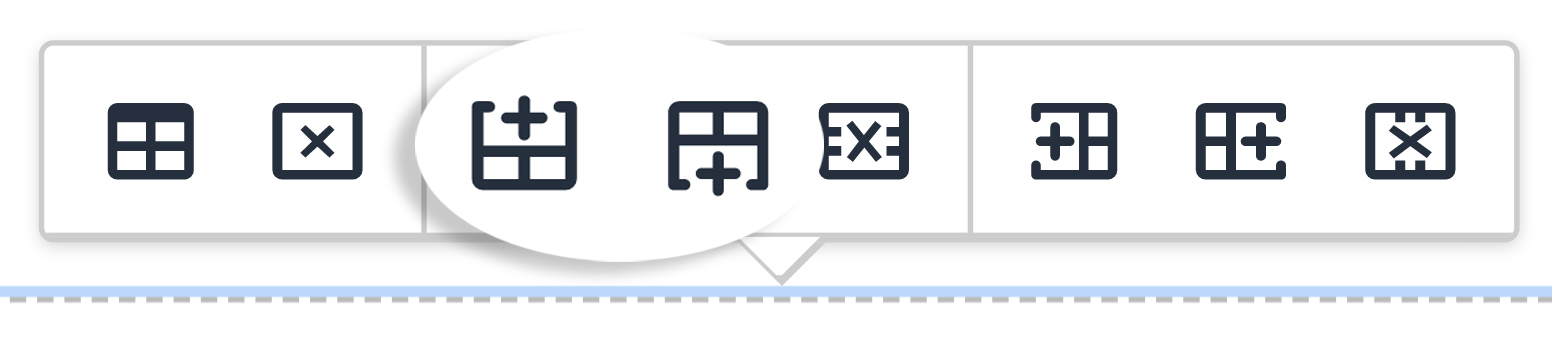
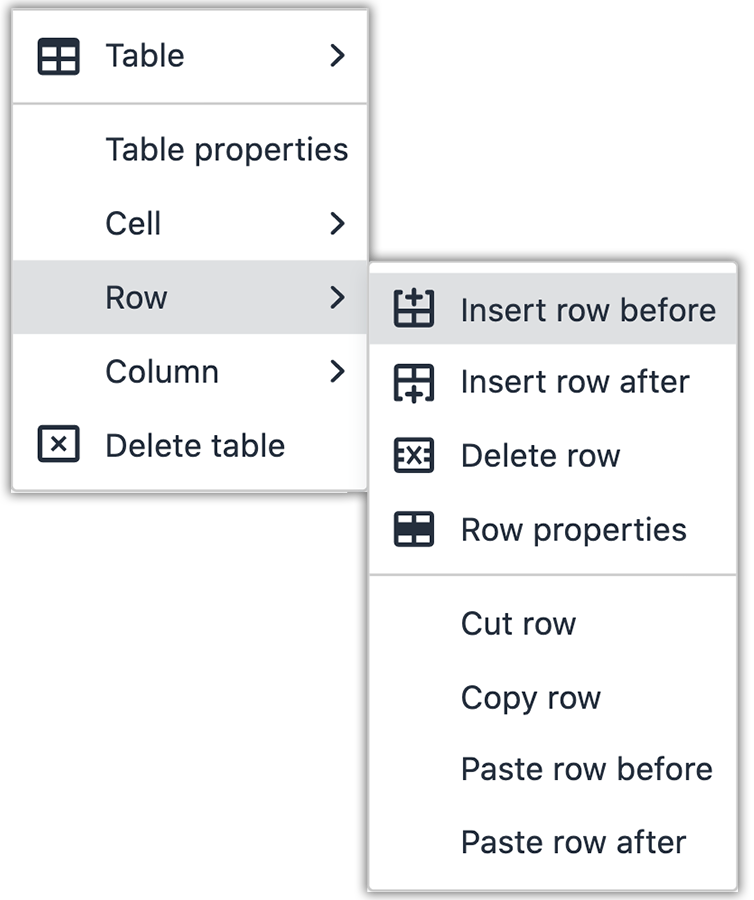
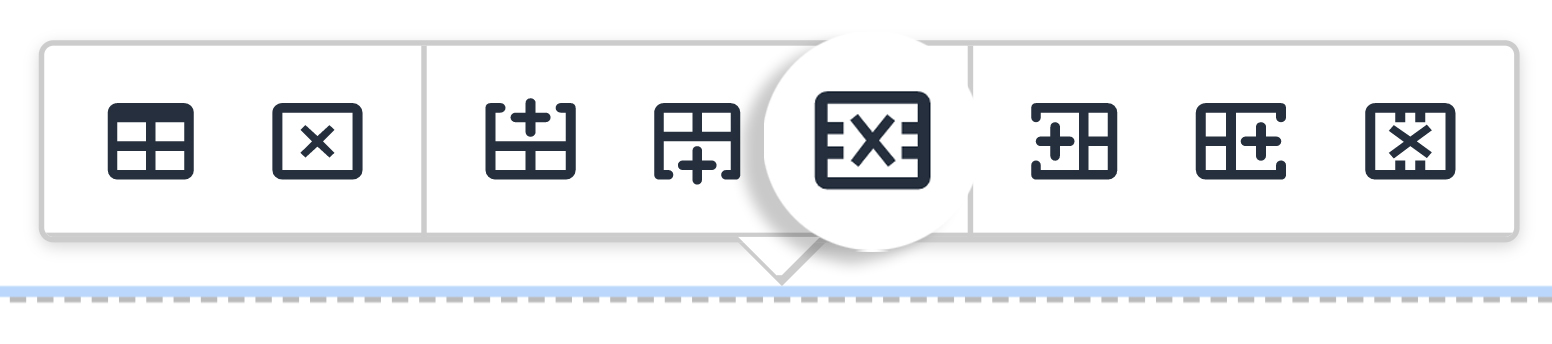
To add an image to the rotation (add a new row), place your cursor in the row above or below where you want to insert it, and then use the quick icon menu.
Or right click on the preferred row and go to Row→ Insert Row After or Insert Row Before.
Step 7B:
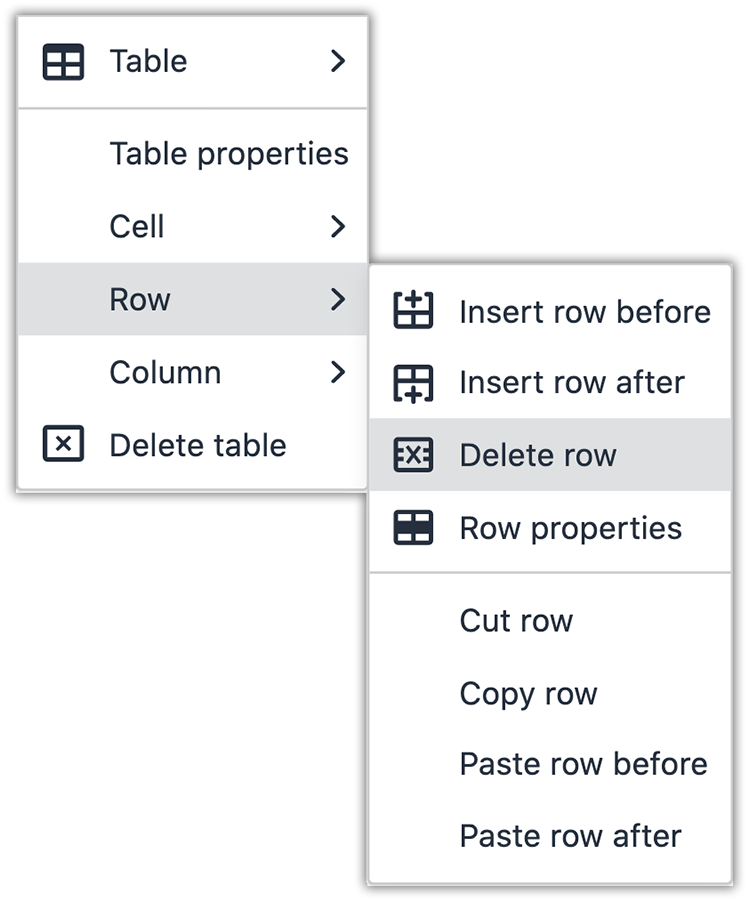
To delete a marquee row, place your cursor in the row you want to delete and then use the quick icon menu.
Or right click on the preferred row and go to Row→ Delete Row.
Step 8:
Utilize the caption text area if you wish to incorporate corresponding titles and links on the images.
Note: You cannot add a link directly to marquee images.
Step 9:
Save and publish file, then follow steps listed under Connecting the rotating marquee to a page.
Step 1:
Check out the page you wish to add a rotating marquee and then navigate to Gadgets (upper right hand corner of the screen).
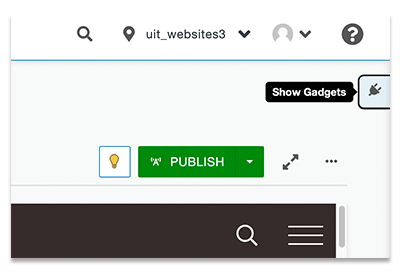
Step 2:
With the gadgets panel open, select the Page Parameters dropdown.
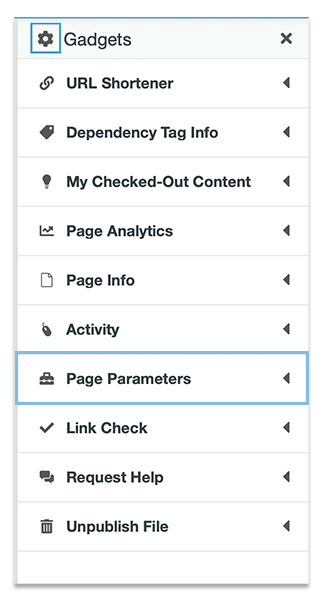
Not seeing the Page Parameters dropdown? Review your gadgets by clicking the gear icon.
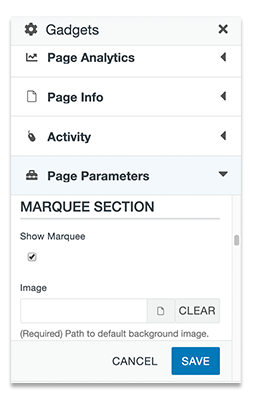
Step 3:
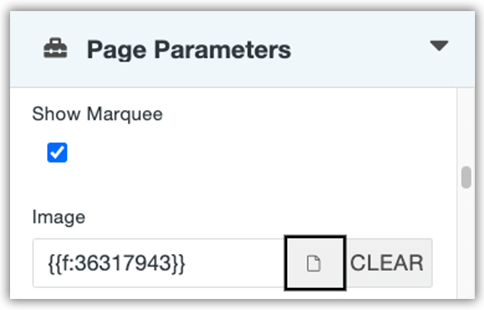
Once the Page Parameters dropdown is open, scroll to the Marquee Section and select the Show Marquee checkbox.
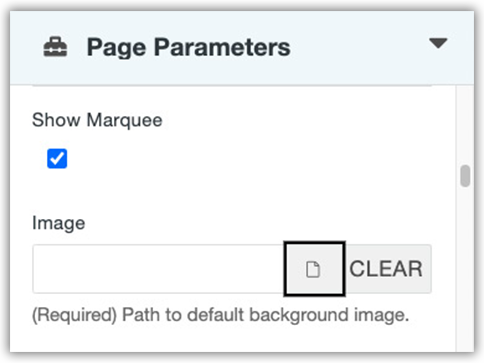
Step 4:
Click on the File icon next to the Image field.
Step 5:
Locate the first image in your rotating marquee and click on Choose File to insert.
Note: You will need to update this anytime you update the first image in your rotating marquee.
Step 6:
The dependency tag for the image will be placed in the image field.
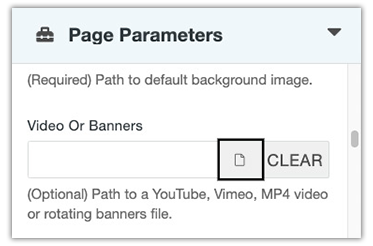
Step 7:
While still in Page Parameters, scroll to the Videos or Banners area (located under the Image area) and click on the File icon.
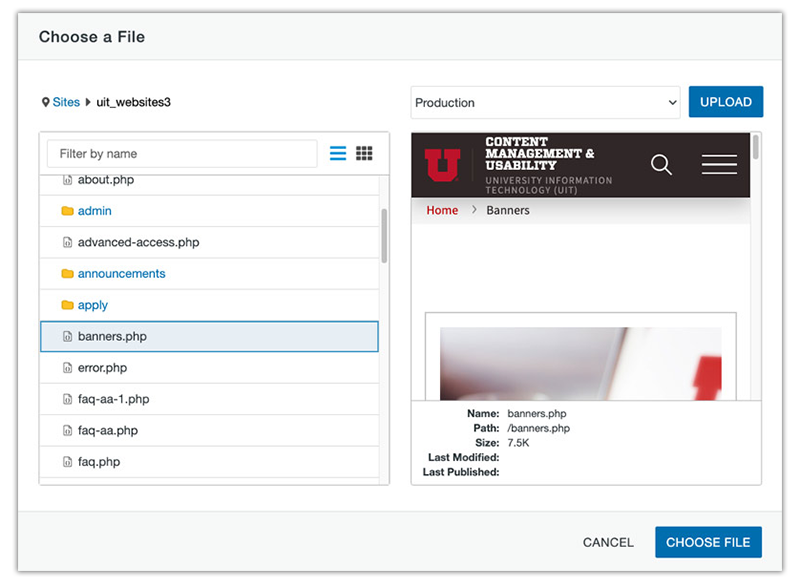
Step 8:
Locate the banners.php file and click Choose File.
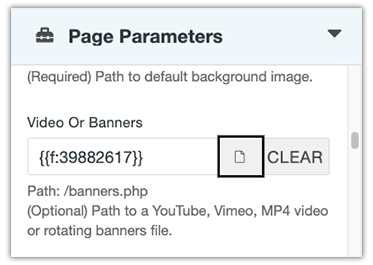
Step 9:
The dependency tag for banners.php will be placed in the videos or banners field.
Step 10:
Update the marquee height.
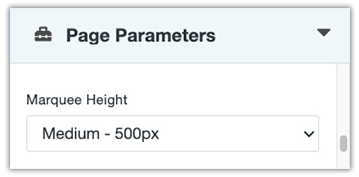
Note: Images should be uploaded at the dimensions you wish for them to display. Changing the window height will not resize the image.
Step 11:
Save and publish to view changes.
![]()
Note: The rotating marquee will not display in the editor. Click preview or open page in a new browser window to view changes.