Trumba: Adding Events
Quick Tip for First Time Users
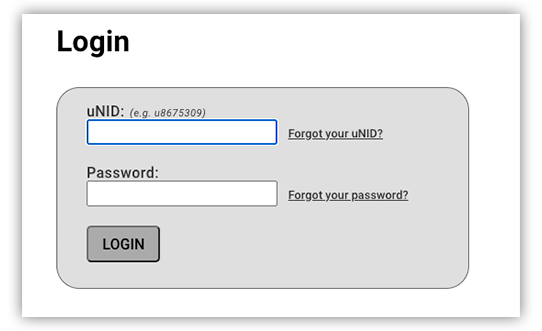
Copy and bookmark this link exactly as it is displayed here: https://www.trumba.com/sp/signin/644577
Step 2:
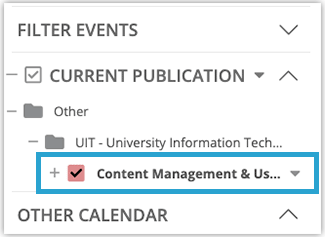
If you do not have access to multiple calendars, you can skip to step 3.
Select which calendar you wish to add the event from the list provided on the left-hand side. Once selected, it should show as the active calendar under Current Publication.
Step 3:
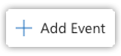
Click on Add Event.
Step 4:
Fill out the Event Information as needed.
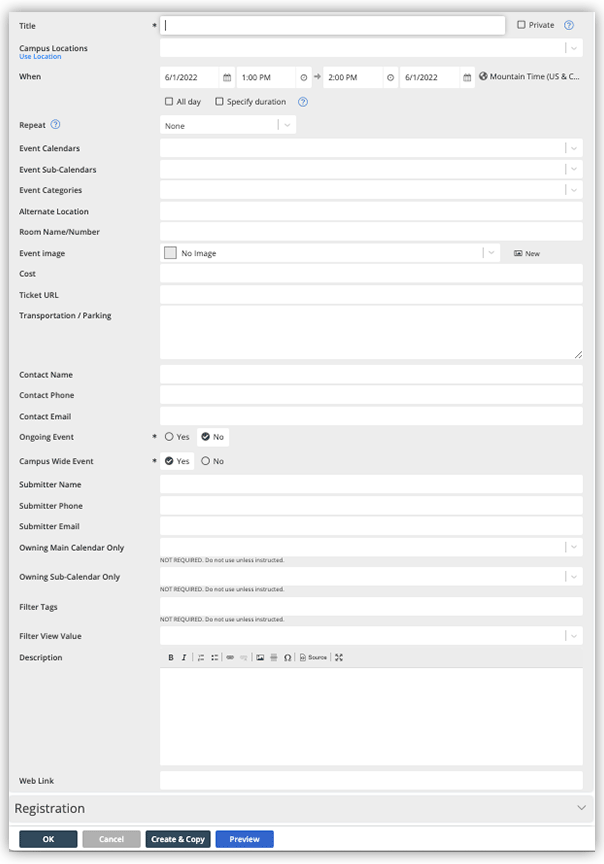 Title: Name of Event
Campus Location: Select the location of the event from the dropdown. If the event isn't listed, click on "Use Campus Locations" and manually add location address.
When: Add Start Date, Start Time, End Time and End Date
Repeat: If this is a recurring event, make sure to include an end date. Do not select the "No end date" checkbox.
Event Calendars: The overarching area for the event. The main colleges and offices will be listed here.
Example: If this is an Anthropology event, you would select College of Social and Behavioral Science under Event Calendars and then Anthropology under Sub-Calendars.
Sub-Calendars: The departments, programs, and centers with overarching areas will be listed here.
Categories: Please select a max of 3 categories that are relevant to the event.
Alternate Location: Optional. Leave blank if not applicable.
Room Name/Number: Optional. Room name and number for event.
Event Image: Optional. Leave blank if not applicable.
- Images should not contain informational text.
- Images should be no bigger than 300 pixels in width by 200 pixels in height and should be less than 1MB.
Cost: Optional. Leave blank if not applicable.
Ticket URL: Optional. Leave blank if not applicable.
Transportation/Parking: Optional. Leave blank if not applicable.
Contact Name, Phone, and Email: Information for the primary contact of the event
Ongoing Event: Leave "No" unless this is a recurring event.
Campus Wide Event: Leave "Yes" unless this is a private event.
Submitter Name, Phone, and Email: Your information (may be the same as contact information)
Leave the following blank:
- Owning Main Calendar Only
- Owning Sub-Calendar Only
- Filter Tags
- Filter View Value
- Description: Description of the event.
- Web Link: Link associated with the event
Step 5:
Once you've filled out all of the relevant fields for your event, click OK. The system should then return you to the calendar homepage.

Step 6:
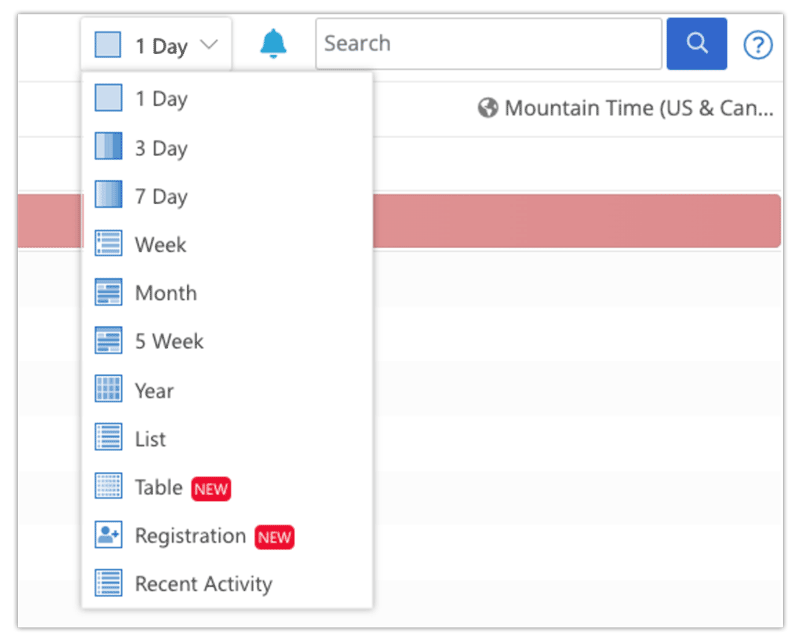
Using the display options dropdown (or the thumbnail calendar on the left-hand side), navigate to the date of the event to verify it has been successfully added to your calendar.