An introduction to blogs
Did you know that you can add a blog to your site? With OU Blogs, blog posts are managed directly in Modern Campus CMS and edited as pages.
Blog features
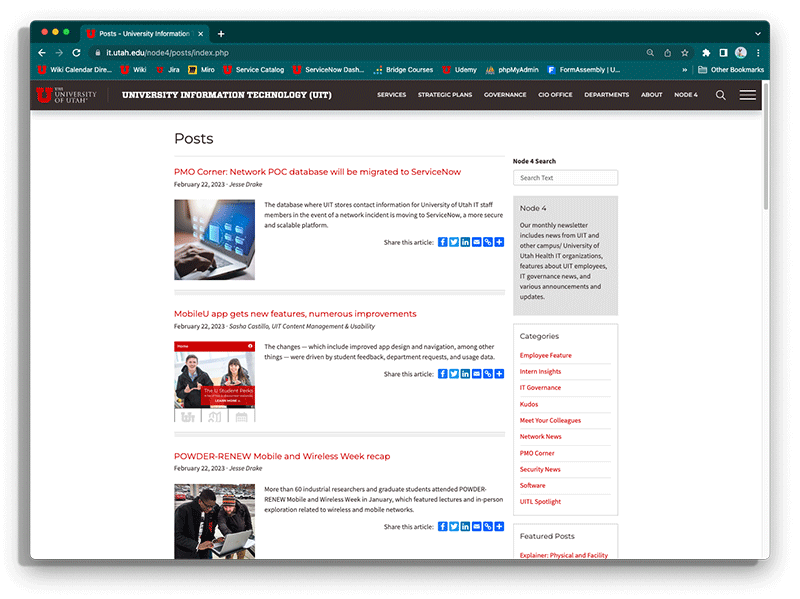
The OU Blog template comes standard with the following, but you can customize the look and feel to meet your needs:
- Post Summary Page (optional thumbnail)
- Blog Search
- Subscribe Button (XML) (optional)
- Featured Posts (optional)
- Categories (optional)
- Tag Clouds (optional)
Featured Posts
Featured Posts are those you want to draw special attention to in your blog archive. Featured posts show up on the post summary page, regardless of post date.
Categories
Categories are topics you address in your blog posts. They are broad and can encompass smaller, more specific topics (i.e. tags). Categories should be descriptive and can contain multiple words.
Note: To avoid creating duplicate categories, stay consistent with formatting (i.e. capitalization and spacing)
Tags and Tag Clouds
Tags are word or short phrases that reflect key points in your blog posts. The more a tag is used, the bigger the text will get in the tag cloud.
Note: Separate multiple tags with commas.
Blog Archive
The blog archive is a great option for organizing posts by month and year.
Note: You must create yearly directories along with monthly subdirectories for this feature to work correctly.
Adding a blog directory
Step 1:
Navigate to the /blog/posts directory.
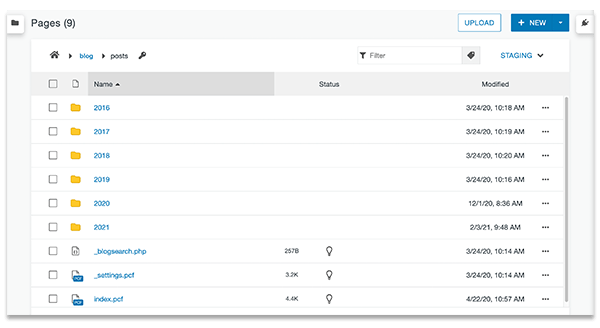
Step 2:
Click NEW and select Blog Folder.
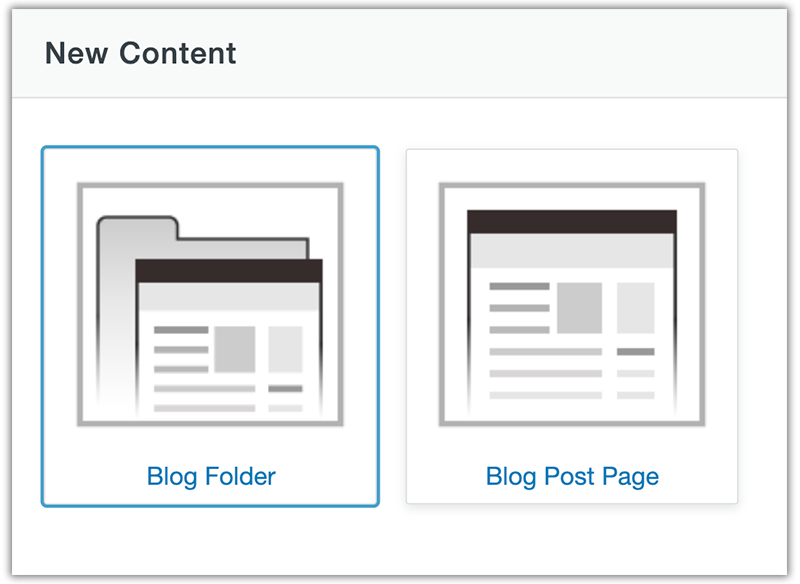
Step 3:
Name the folder. If you are using the Blog Archive feature, enter the month or the year here.
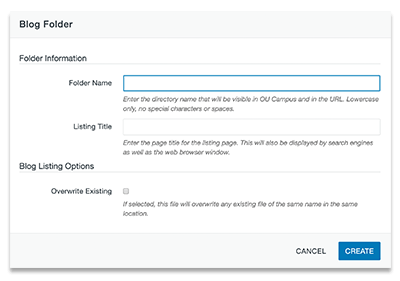
Step 4:
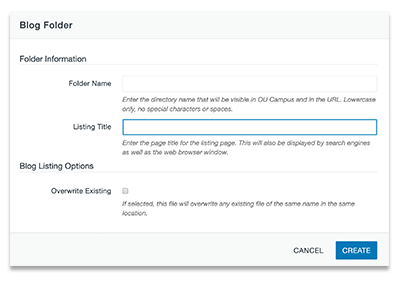
Enter the Listing Title. This will also appear as the page title and in the breadcrumb. Then click Create.
Step 5:
Repeat steps 2-4 to add subdirectories (ex: monthly subdirectories).
Adding a blog post
Step 1:
Navigate to the directory where you would like to add a new post.

Step 2:
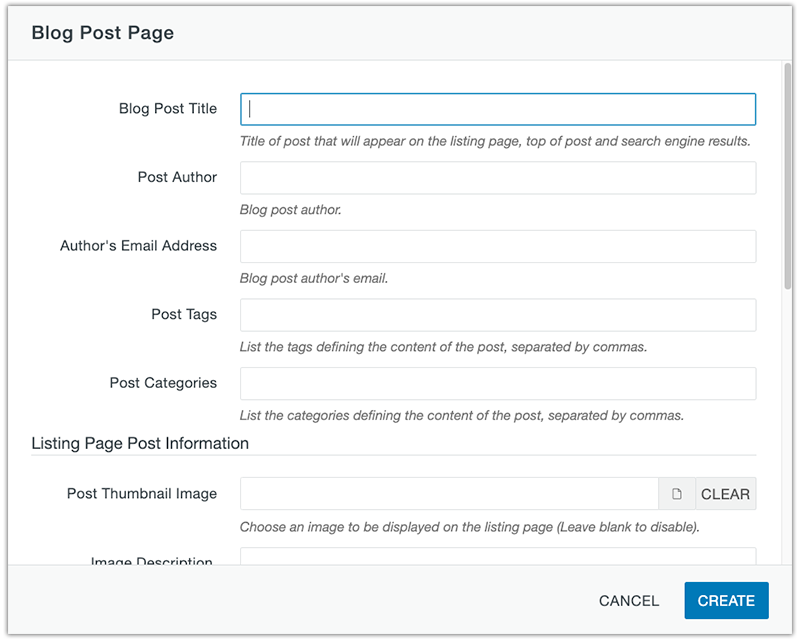
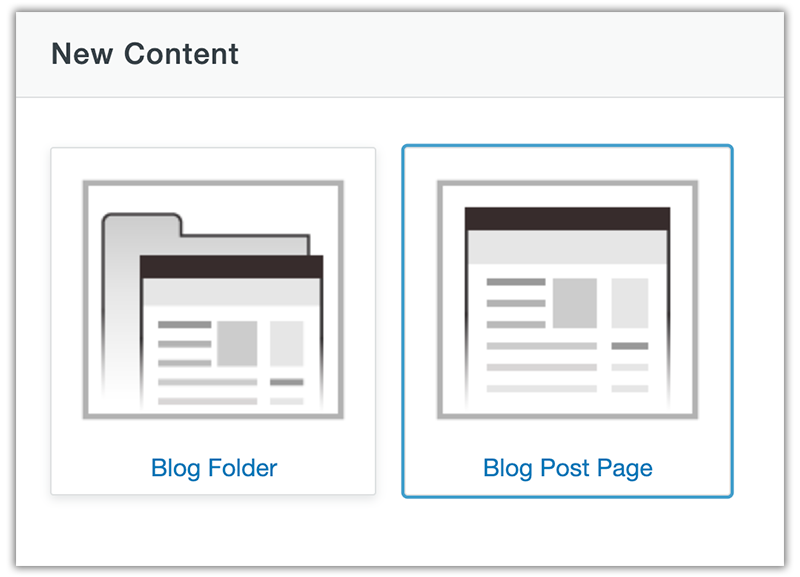
Click NEW and select Blog Post Page.
Post Information
- Blog Post Title - The title of the post.
- Post Author (Optional) - Name of the Person/Department creating the post item.
- Author's Email Address (Optional) - If this is set, the Post Author text entered above will be a link.
- Post Tags (Optional) - Specific topics related to the post.
- Post Categories (Optional) - Overall categories related to the post.
Listing Page
Items below will only appear on the blog listing page.
- Post Thumbnail Image (Optional) - Image displayed on the summary page.
- Image Description - Usually the same text used in the Blog Post Title.
- Post Description - Short description that appears on the blog summary page.
- Featured (Optional) - If checked, this post title will appear in the Feature Posts area.
File Configuration
- Filename - Name of blog post file. Remember: no caps, no spaces.
Blog Post Options
- Overwrite Existing - Use this if you want to overwrite an existing file.
Editing blog post settings
Step 1:
Navigate to the blog post you would like to edit. Check out the page and then click on the Properties tab.

Step 2:
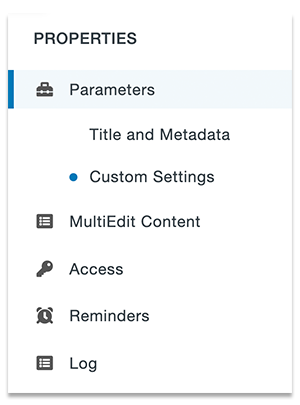
The following can be edited in the Parameters tab:
- Title
- Description
- Post Date
- Blog Display Options (Note: _settings.pcf will override this area)
Step 3:
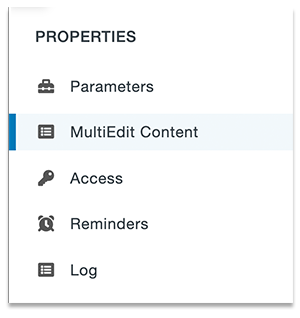
The following can be edited in the MultiEdit Content tab:
- Post Title (as shown on blog summary page)
- Post Author & Email
- Tags
- Categories
- Post Description
- Thumbnail
- Featured Post Option
Step 4:
Save and publish in order to view changes.


