The Basics: Adding and Editing Files
An introduction to adding files
Any file (.docx, .pdf, .jpeg, etc.) you upload to your site must then be published in order to be viewable on your site.
Best practices for files
Upload and publish your files in /_resources/documents and /_resources/images. If you choose to place files elsewhere on your site, please remain consistent to make it easier to locate/reuse them when needed.
Uploading and publishing files
Step 1:
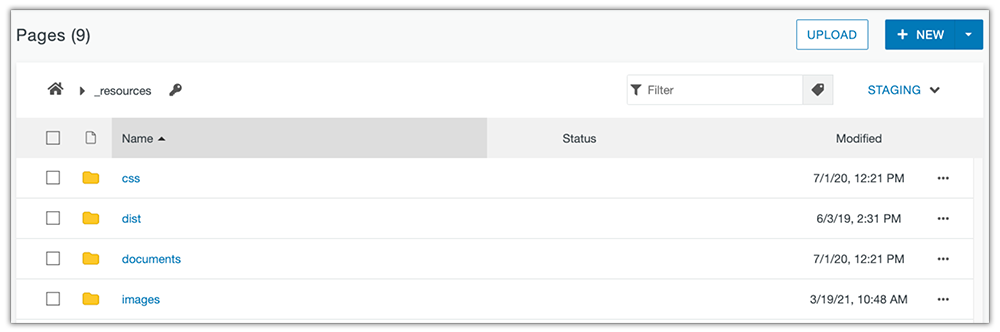
Navigate to where you would like the file(s) to reside. (Ex: /_resources/documents or /_resources/images).
Step 2:
Click the Upload button.

Step 3:
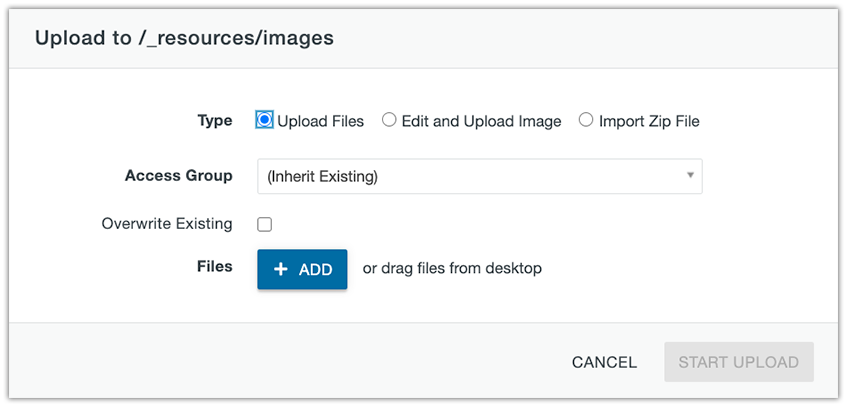
In the Upload File dialog box, click Add to select file(s). You can also drag and drop files here.
Step 4:
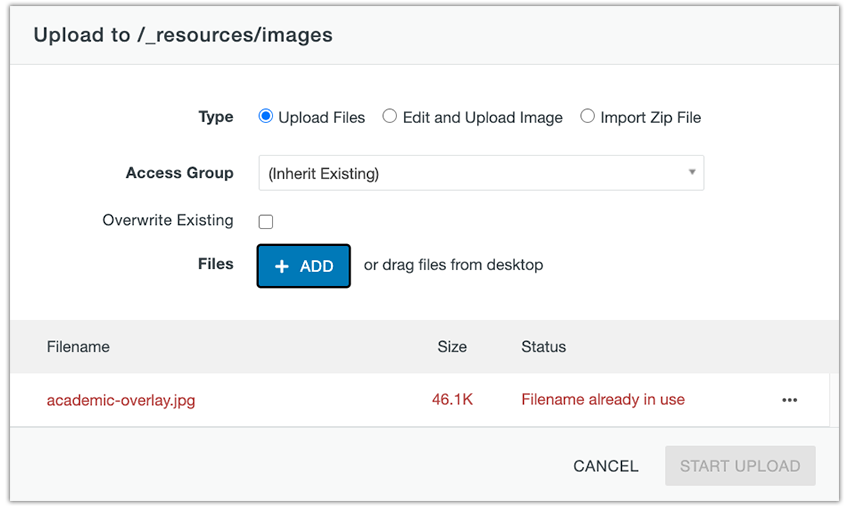
Review the file name for proper naming convention (no caps, no spaces). If you are uploading an image, verify that it is under 100kb. Click Start Upload.
Note: If the file you are trying to upload does not follow proper naming convention, or if it already exists in the system, the text will be red. Edit as necessary.

Step 5:
After the file(s) have been successfully uploaded, click the Select All checkbox and click Publish.

Renaming existing files
Step 1:
Navigate to where the file you wish to edit resides. (Ex: /_resources/documents or /_resources/images).
Step 2:
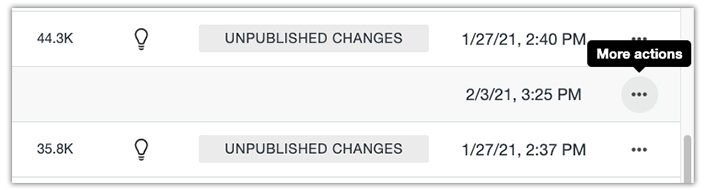
Hover over the file you wish to edit and select the More actions icon.
Step 3:
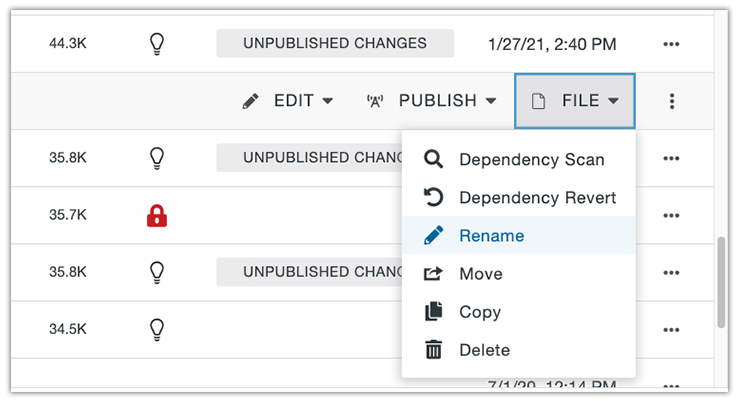
Click on File and Rename.
Step 4:
Hit Enter/Return to confirm changes.
Note: The files will be automatically republish after renaming them.
Overwriting existing files
Step 1:
Navigate to where the file(s) you wish to overwrite reside. (Ex: /_resources/documents or /_resources/images).
Step 2:
Click the Upload button.
Step 3:
In the Upload File dialog box, click Add to select file(s). You can also drag and drop files here.
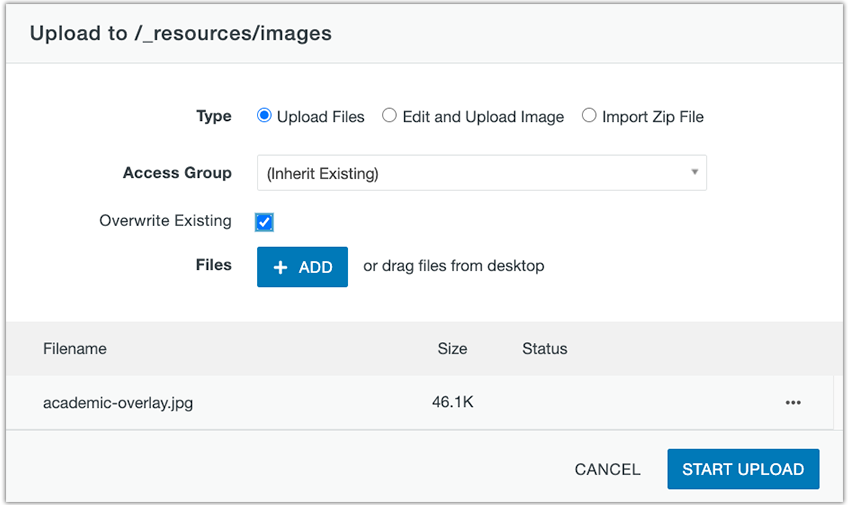
Note: The file name you are trying to upload should match the file name you are trying to overwrite.
Step 4:
Select the overwrite existing checkbox and click Start Upload.
Step 5:
After the file(s) have been successfully uploaded, click the Select All checkbox and click Publish.
