The Basics: Recycling, Restoring, and Archiving Pages
Recycling pages
If a page is no longer needed, the page can be moved to the recycle bin. Recycling page removes them from both the staging and production server. Pages in the recycle bin are stored for 12 months before being permanently deleted.
Step 1:
In the file view, locate the page you wish to recycle and select the checkbox.

Step 2:
Click the Recycle option.
![]()
Step 3:
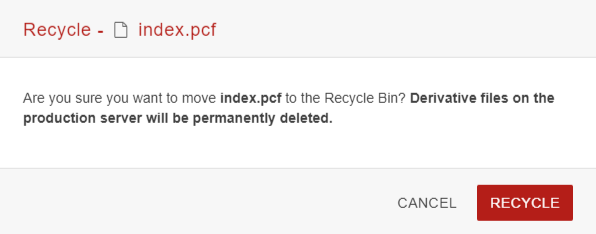
Click on Recycle to move the page to the Recycle Bin.

Restoring pages
If a page has been accidentally recycled, it can be restored back to its original file location. Any file can be restored if it has not been permanently deleted.
Step 1:
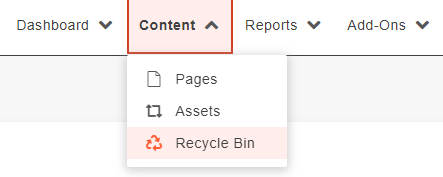
Click on Content and select Recycle Bin.

Step 2:
Use the filter to search for the desired page.

Step 3:
Select the desired page, and click Restore.
![]()
Step 4:
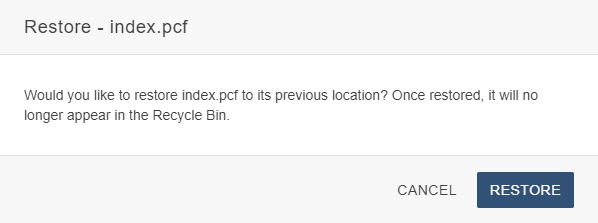
Confirm the restoration of the page. The page will be restored to the same location it was recycle from.

This will restore the page on staging. In order to make the page live, you must follow through with publishing the page.
Archiving pages
Archiving pages removes the file from the production server but keeps them on the staging server. Any archived page is relocated to the _archive folder at the root of the site.
Step 3:
Move the restored file to the _archive folder. Do not publish the page.
![]()
Step 4:
When the file is ready to be publicly available again, move the file to the desired location and publish the page.
![]()
