Snippets Library: Image Gallery
What is an image gallery?
The image gallery snippet displays a group of small, thumbnail images. Clicking on a small image will open a larger version of that image in the gallery. The gallery has forward and back arrows on either side of the full-size image. Clicking on an arrow will show the previous or next image in the gallery.
Image Gallery Example


Creating image galleries
Step 1:
Edit your images. Each image in the gallery needs a full-size image and a thumbnail image. All images should be under 100kb each.
- Full-size images are typically around 500px wide and no larger than 900px wide.
- Thumbnail images must be square and are usually 150px x 150px.
Stay consistent with the sizing of your images for optimal viewing.
Step 2:
Navigate to /_resources/images and create a new folder. Name this folder "galleries" and click Create.
Step 3:
Create a subfolder within the galleries folder for this specific gallery and name it accordingly.
- This folder will be for your full-sized images

galleries
campus-views
Step 4:
Upload and publish your full-sized images into the subfolder you just created.

Step 5:
While still in the first subfolder of galleries, create an additional subfolder.
- This folder will be for your thumbnail images
galleries
campus-views
small
Step 6:
Upload and publish your thumbnail images in the sub-subfolder you just created.
Step 7:
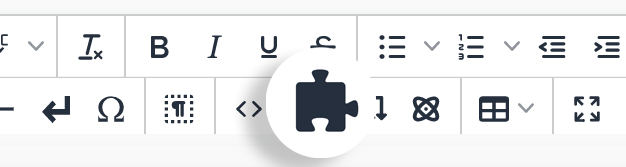
Navigate to the webpage you want to add the image gallery. While in edit mode, click on the Snippets icon in the WYSIWYG Toolbar.
Step 8:
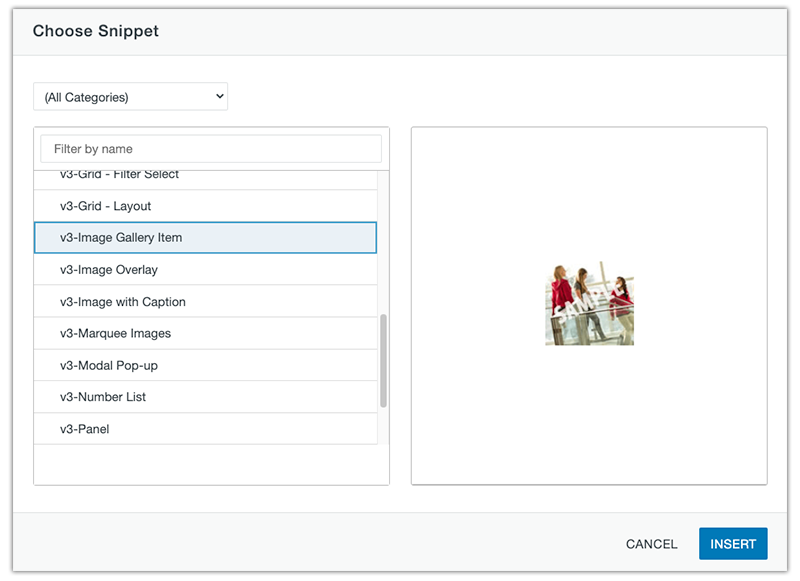
Select the Image Gallery Item and click Insert.
You will need to add a new Image Gallery Snippet for each thumbnail image.
Step 9:
Select the default image, then click the Insert/Edit Image icon in the WYSIWYG Toolbar to replace the default image with one of your thumbnail images.
Step 10:
After the thumbnail has been inserted, click it and then select the Insert/Edit Link icon in the WYSIWYG Toolbar. Locate and link up the corresponding full-size image.
Step 11:
Add descriptive text in the Title box. This title will display when the full-size image is viewed in the gallery.
![]()
Step 12:
Repeat steps 8-10 until your image gallery is complete.
Step 13:
Save and publish your page in order to view changes.
Multiple galleries on one page
If you have more than one gallery per page, each gallery will need a unique class so that it will display images independently of any other gallery on the page.
Step 1:
Click on the thumbnail image and then click on Insert/Edit Link icon in the WYSIWYG Toolbar.
Step 2:
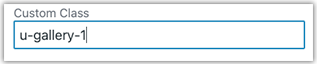
Switch the Class dropdown to (custom).
"u-gallery-1" is displayed in the Custom Class field.
Step 3:
For additional galleries, change this class to "u-gallery-2".
You will need to change this for each image gallery item that is in the second gallery.
Step 4:
Save and publish to view changes.