Beyond the Basics: Instagram Feed Setup
Step 1 - Login to your Instagram account on a desktop.
Step 2 - Verify that your account is public.
2a. Select Profile from the left hand menu.
2b. Click on the Gear icon in the upper right corner. This will open pop-up a menu.
2c. Select Settings and Privacy from the menu.
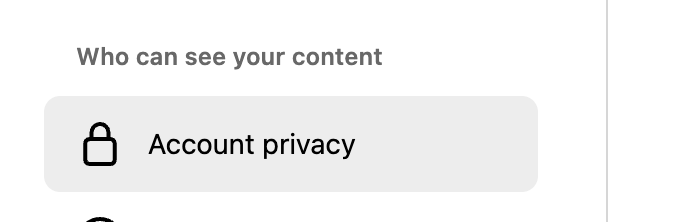
2d. Under Who can see your content, select Account privacy.
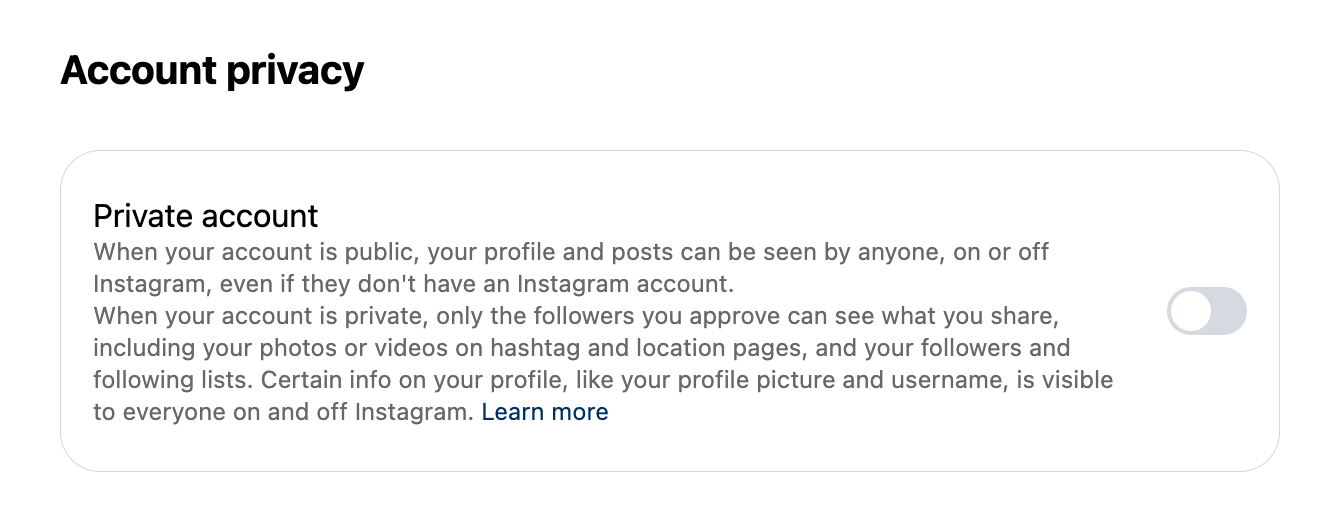
2e. Confirm that the Private account toggle is set to off.
Step 3 - Allow website embeds.
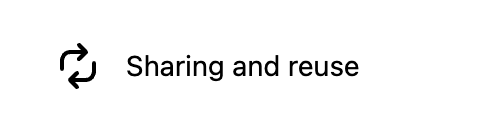
3a. In the Settings menu on the left, navigate to How others can interact with you and then select Sharing and reuse.
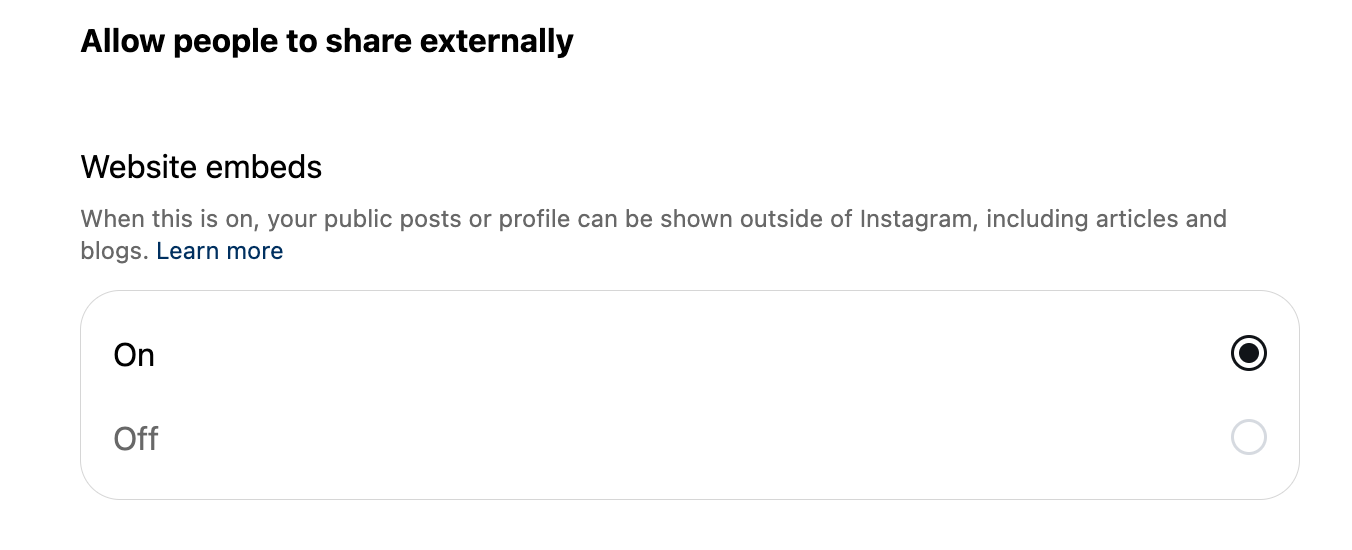
3b. Under Allow people to share externally, set the Website embeds option to On.
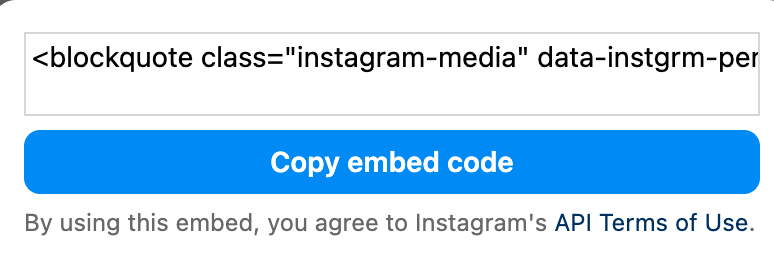
Step 4 - Get the embed code.
4a. Select Profile from the left hand menu.
4b. Click on the Gear icon in the upper right corner. This will open pop-up a menu.
4c. Select Embed and then click Copy embed code.
Step 5 - Add code to page in Modern Campus
For a general guide on creating and adding assets, view our Beyond the Basics: Using and Editing Assets walkthrough.
5a. Login to the page in Modern Campus where the old Instagram feed resides.
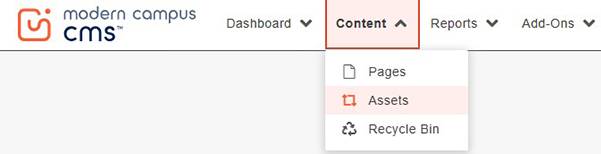
5b. Under the Content dropdown menu in the global navigation, choose Assets.
5c. Create a new asset, with Source Code as the type.
5d. Name your asset something like [department name] - Instagram feed, e.g. "UIT - Instagram feed".
5e. Select your site group under Access Group (should be similar to your site name).
5f. Select your site group under Available to (should be similar to your site name).
5g. Paste the copied embed code in the Asset Content section.
5h. On the last line of code, replace
<script async src="//www.instagram.com/embed.js"></script>
with
<script async="" src="//www.instagram.com/embed.js"></script>
<script src="//templates.utah.edu/_main-v3-1/js/instagram-embed.js" defer=""></script>
5i. Click Create.
5j. Publish asset.
5k. Navigate back to the page where the old Instagram code resides.