FormAssembly: Google Spreadsheet Connectors
Need to share submission data? You can utilize FormAssembly's sophisticated features and have your data readily available in Google Spreadsheets.
Step 1:
After logging in to FormAssembly, scroll through the Forms List to locate the form needing a connector.
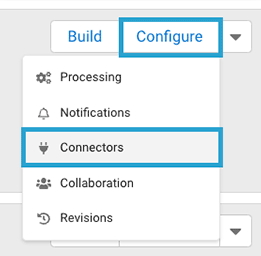
Step 2:
Once you've located the form, click on Configure and select Connectors from the dropdown.
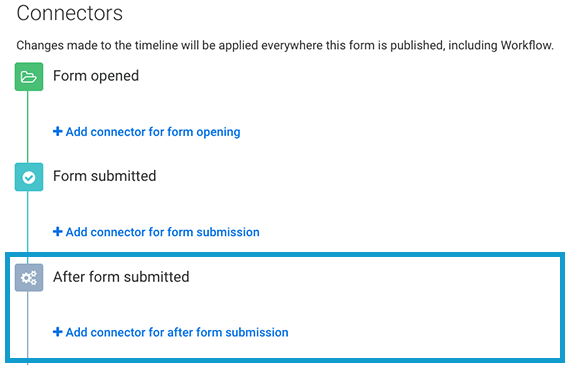
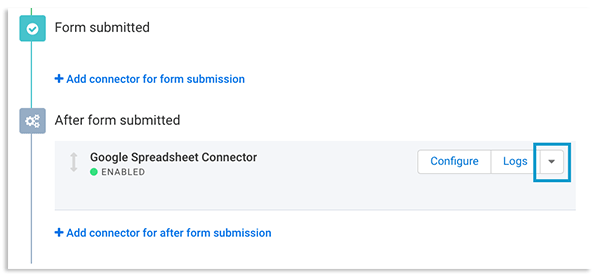
Step 3:
Under After form submitted, select + Add connector for form submission.
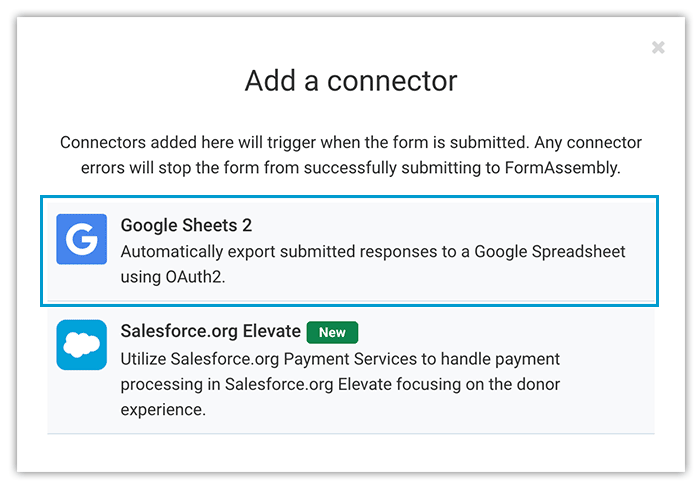
Step 4:
Select Google Sheets 2.
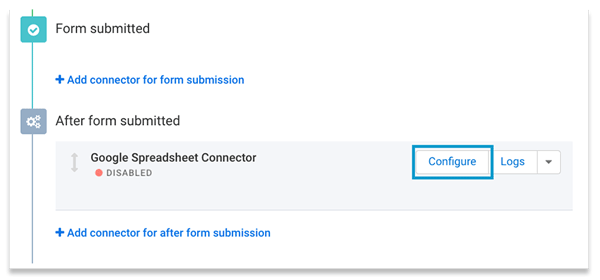
Step 5:
Click Configure.
Step 6:
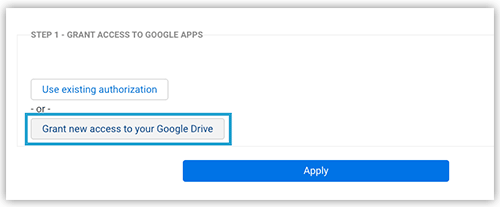
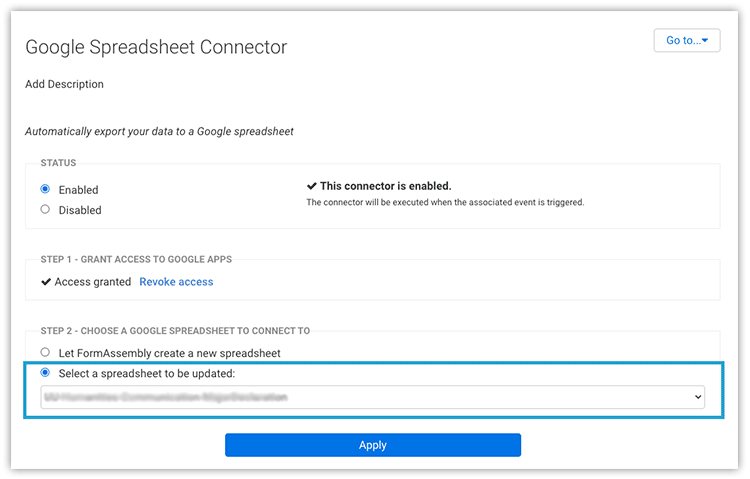
Under Step 1 - Grant Access to Google Apps, click on Grant new access to your Google Drive.
Note: You will need to grant new access each time you set up a spreadsheet for a form.
Step 8:
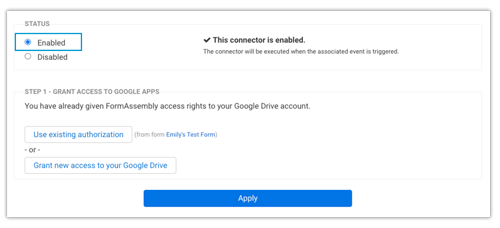
Click Allow to grant FormAssembly access to your GCloud account.

Step 9:
Enable connector under Status and then click Apply to save changes.
Step 2:
Submit a test submission through the form to generate a Google spreadsheet.

Step 3:
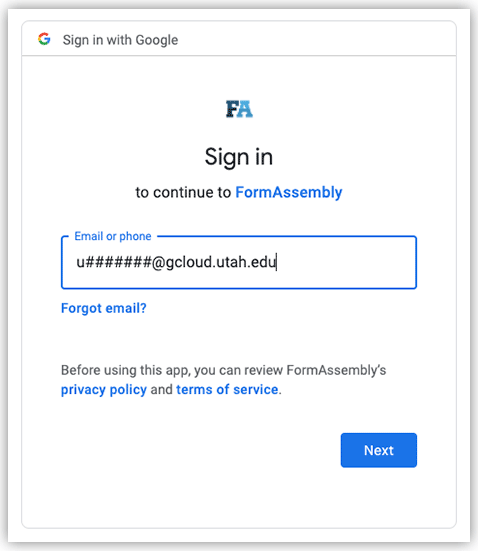
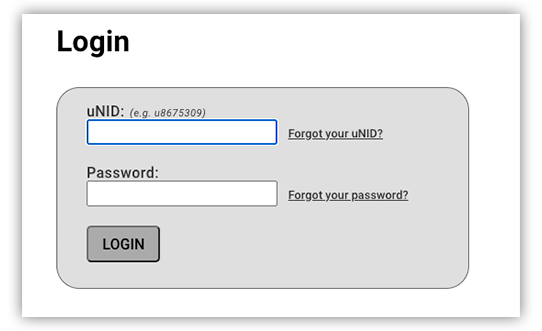
Navigate to Google Workspace (gcloud.utah.edu) and login with your uNID credentials (and submit DUO login if needed).
Step 4:
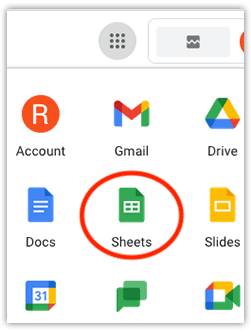
In the upper-right corner, click the Google Apps and then click on Sheets.
Step 5:
Locate the new spreadsheet and rename it following this naming convention: UU - College/Org - Dept - NameOfForm.
Ex: UU-Humanities-L2TREC-MuSSel Registration Form
Step 6:
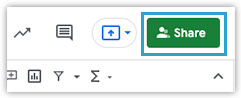
In the upper-right corner, click on Share.
Step 7:
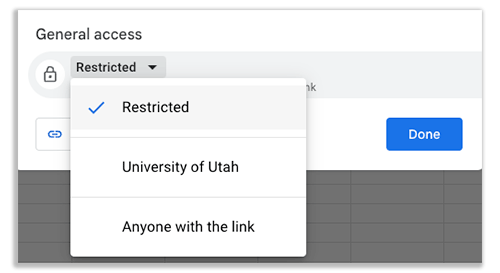
Under General Access, switch access from University of Utah to Restricted so that only people added to the spreadsheet can open with this link.
Step 8:
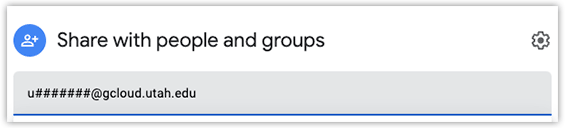
Share the spreadsheet with employee GCloud accounts (uNID@gcloud.utah.edu) as-needed.
Step 9:
(Strongly Recommended)
Share the spreadsheet with the UIT - USS - FormAssembly group (uit-uss-formassembly@gcloud.utah.edu) and set access level to Editor.
This is to prevent loss of spreadsheet in case of employee turnover.
Step 10:
Once you finish adding GCloud accounts, click Done.

Step 1:
After logging in to FormAssembly, scroll through the Forms List to locate the form that needs a spreadsheet reconnected.
Step 2:
Once you've located the form, click on Configure and select Connectors from the dropdown.
Step 3:
Under After form submitted, use the dropdown to delete the existing connector.
Step 4:
Just like setting up a new connector (steps 3-9), under After form submitted, select + Add connector for form submission.
Step 5:
Select Google Sheets 2, and then click Configure.
Step 6:
Under Step 1 - Grant Access to Google Apps, click on Grant new access to your Google Drive.
Note: You will need to grant new access each time you set up a spreadsheet for a form.
Step 8:
Click Allow to grant FormAssembly access to your GCloud account.
Step 9:
Under Step 2 - Choose a Google Spreadsheet to Connect To, click Select a spreadsheet to be updated and locate the existing spreadsheet that corresponds with the form.
Step 10:
Verify Status is set to enabled and then click Apply to save changes.

Step 11:
Submit a test submission through the form to trigger a new entry on the spreadsheet. This will verify that the spreadsheet has successfully been reconnected.
Resources